Nematool (v3). Autonomous soil temperature probe associated with a digital app for nematode (Meloidogyne spp.) management. Optimizing the timing of nematicide applications and solarization quality.
Before using the product, read the label carefully. For professional growers only.
Distributed by:
Bayer Crop Science
www.bayer.com
What is Nematool?
Nematool sonda v3 is an electronic device that autonomously provides soil temperature information using Narrow Band (NB) technology. The device is in accordance with EU directives: 2014/53/EU Placing on the market of radio equipment and 2011/65/EU restrictions on the use of certain hazardous substances in electrical and electronic equipment. The device must be paired with the ‚Nematool app, where users can view processed information and receive notifications for improved nematode management.
Battery
El Nematool (v3) cuenta con una batería de litio no recargable (menos de 2 g de Li) que alimenta su funcionamiento. Se espera que el dispositivo tenga una vida útil de batería de hasta 5 años bajo un uso normal. Para los modelos de 2022/23 equipados con tecnología GPRS, la vida útil de la batería anticipada es de 1 a 2 años.
Connectivity
Sending temperature data to the server is linked to an agreement with a telecommunications company that provides connectivity. The device has one year of associated connectivity that must be renewed annually if you want to prolong the service of the device (reconditioning)
Precautions in handling
Handling Nematool does not require special precautionary measures
Storage precautions/care & maintenance
// Keep away from chemicals and food
// Keep the device in its original packaging
// Keep away from children
// Turn off the device when it is not in use
Environmental precautions
// The device is a closed system that does not release any substance into the environment if its integrity is maintained.
// No special measures to prevent environmental pollution are necessary.
End of-life product management
Once its useful life has ended, the device must be discarded following local management channels for electrical or electronic equipment (Under Directive 2012/19/EU)
Warranty: This device comes with a two year warranty against defects in materials and workmanship, provided it is used and maintained according to the instructions. This warranty does not cover the battery. The battery life is designed to last for 5 years under normal usage (very low coverage levels may significantly increase the devices energy consumption). The warranty is limited to the repair or replacement of the device at no additional cost. Damage resulting from accidents, misuse, or failure to follow recommendations is not covered. For any questions or issues with the device, contact the Bayer distributor where the product was purchased. When reporting a problem, include the devices ID code, purchase date, and details of the issue. Bayer reserves the right to modify the design, construction and appearance of the product without prior notice.
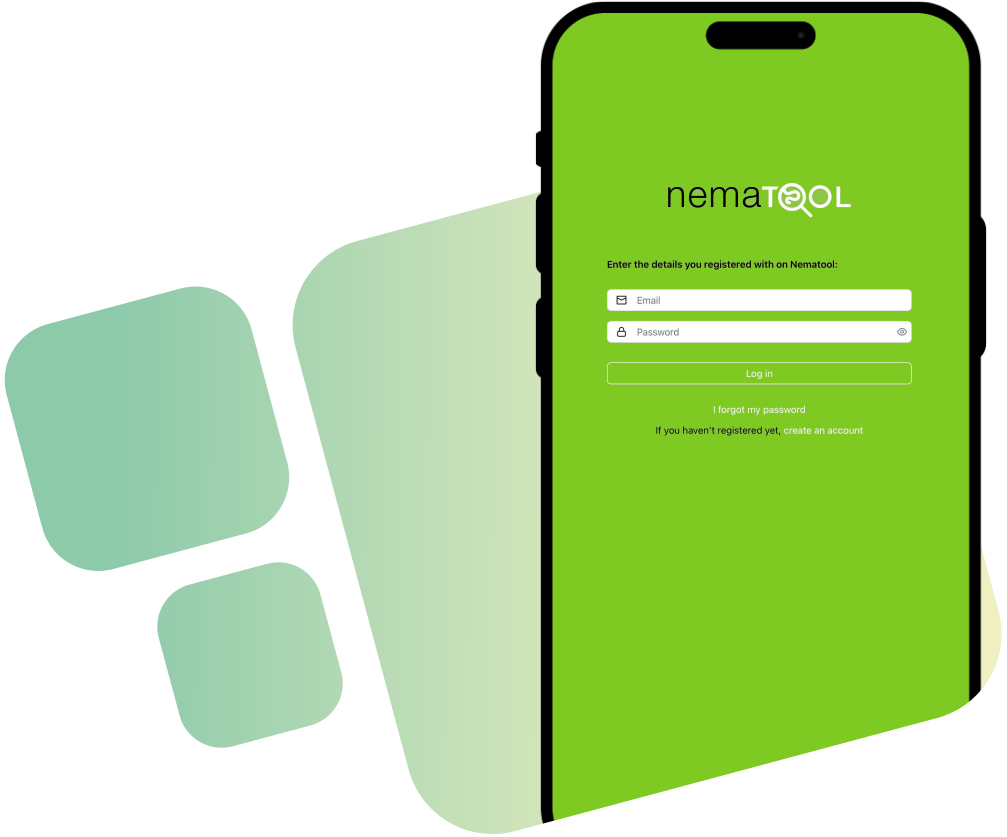
How to install the Nematool app
-
Go to
app.nematool.com
and follow these steps:
For iPhone and iPad users:
- Open the page in Safari.
- Tap the "Share" button in the toolbar.
- Select "Add to Home Screen".
For Android users:
You will see a message asking if you want to install the app – select "Yes".
If any issue occurs, you can install it manually:- Open the page in Google Chrome.
- Tap the "Menu" button (three dots).
- Select "Add to Home Screen", and then tap "Install".
- Open the app.
- Create an account.
- Link the app to your Nematool device.
Or log in, if you already have one.
Find "Field Use Guide" for more details.
Field Use Guide
If you've never used the device before, we recommend activating it at the point of sale with help from a distributor technician. Once activated, you can install it in the field. Store the magnet in a safe place for future use (on/off activation).
| Ovicidal | Larvicidal | |
|---|---|---|
| Development / Waiting | Juvenile endophytic development | Egg development |
| End of development / Caution | New eggs about to appear | Infective larvae will appear soon |
| Recommended treatment | New eggs – Optimal for application | New larvae – Optimal for application |
| Evolution / Waiting | Egg evolution | Endophytic juvenile development |
- Super: > 6000 hours
- Excellent: 3001–5999 hours
- Good: 1501–3000 hours
- Moderate: 501–1500 hours
- Low: 51–100 hours
- None: 0–50 hours